
Introducing the new ‘Floating Button’ web widget designed to help promote your student discount offer on your website and drive conversions.
It’s fully customisable and set-up is simple!
10 steps to introduce the NEW floating button:
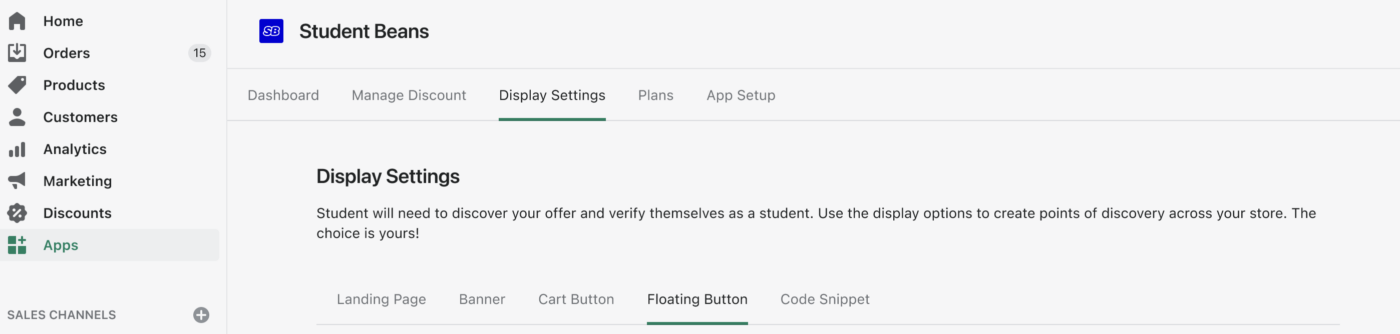
- Click ‘Display Settings’ and select the ‘Floating Button’ tab

- Customise the button based on how you want it to look on your site- including position, message and colour
- Once you have customised your button, select your preferred ‘On-click behaviour’– i.e) If you want the button to click through to launch verification or to go to your student discount landing page
- Finally in ‘Visibility’ choose where you want the button to appear on your website- you can set it to appear across your whole site or choose which section / pages to specifically hide the button from.
- Check the button in the ‘Preview box’ at the bottom of the screen to make sure you’re happy with your customisations
- Now final step it so click ‘Turn on’ to activate the widget- this will trigger a pop-up, where you will need to enable the ‘Floating Button’ in ‘Theme Editor’ (first time only). Click ‘Save’ in Editor and your button is now live.